
Launch a Website with Showit: Beginner’s Step-by-Step Guide
Are you looking to launch a website without the need for coding or unnecessary stress? This guide will help you get started. No matter if you’re a photographer, wellness coach, or small business owner, building your own site can feel overwhelming at first. But with the right tools, it’s actually much easier than most people think.
Why Showit Is the Easiest Way to Launch a Website
Showit is one of the best platforms for beginners who want creative freedom. It lets you design every part of your site with a simple drag-and-drop builder. You don’t need to know code. You don’t need to hire a big agency. You just need a clear plan and a few hours to bring your vision to life.
In this guide, you’ll learn how to launch a website with Showit. From choosing a template to going live, we’ll walk you through everything you need to know. You’ll also get tips to make your site look professional and feel true to your brand.
If you’re ready to stop waiting and start creating, this is your moment. Let’s take that first step toward your launch.

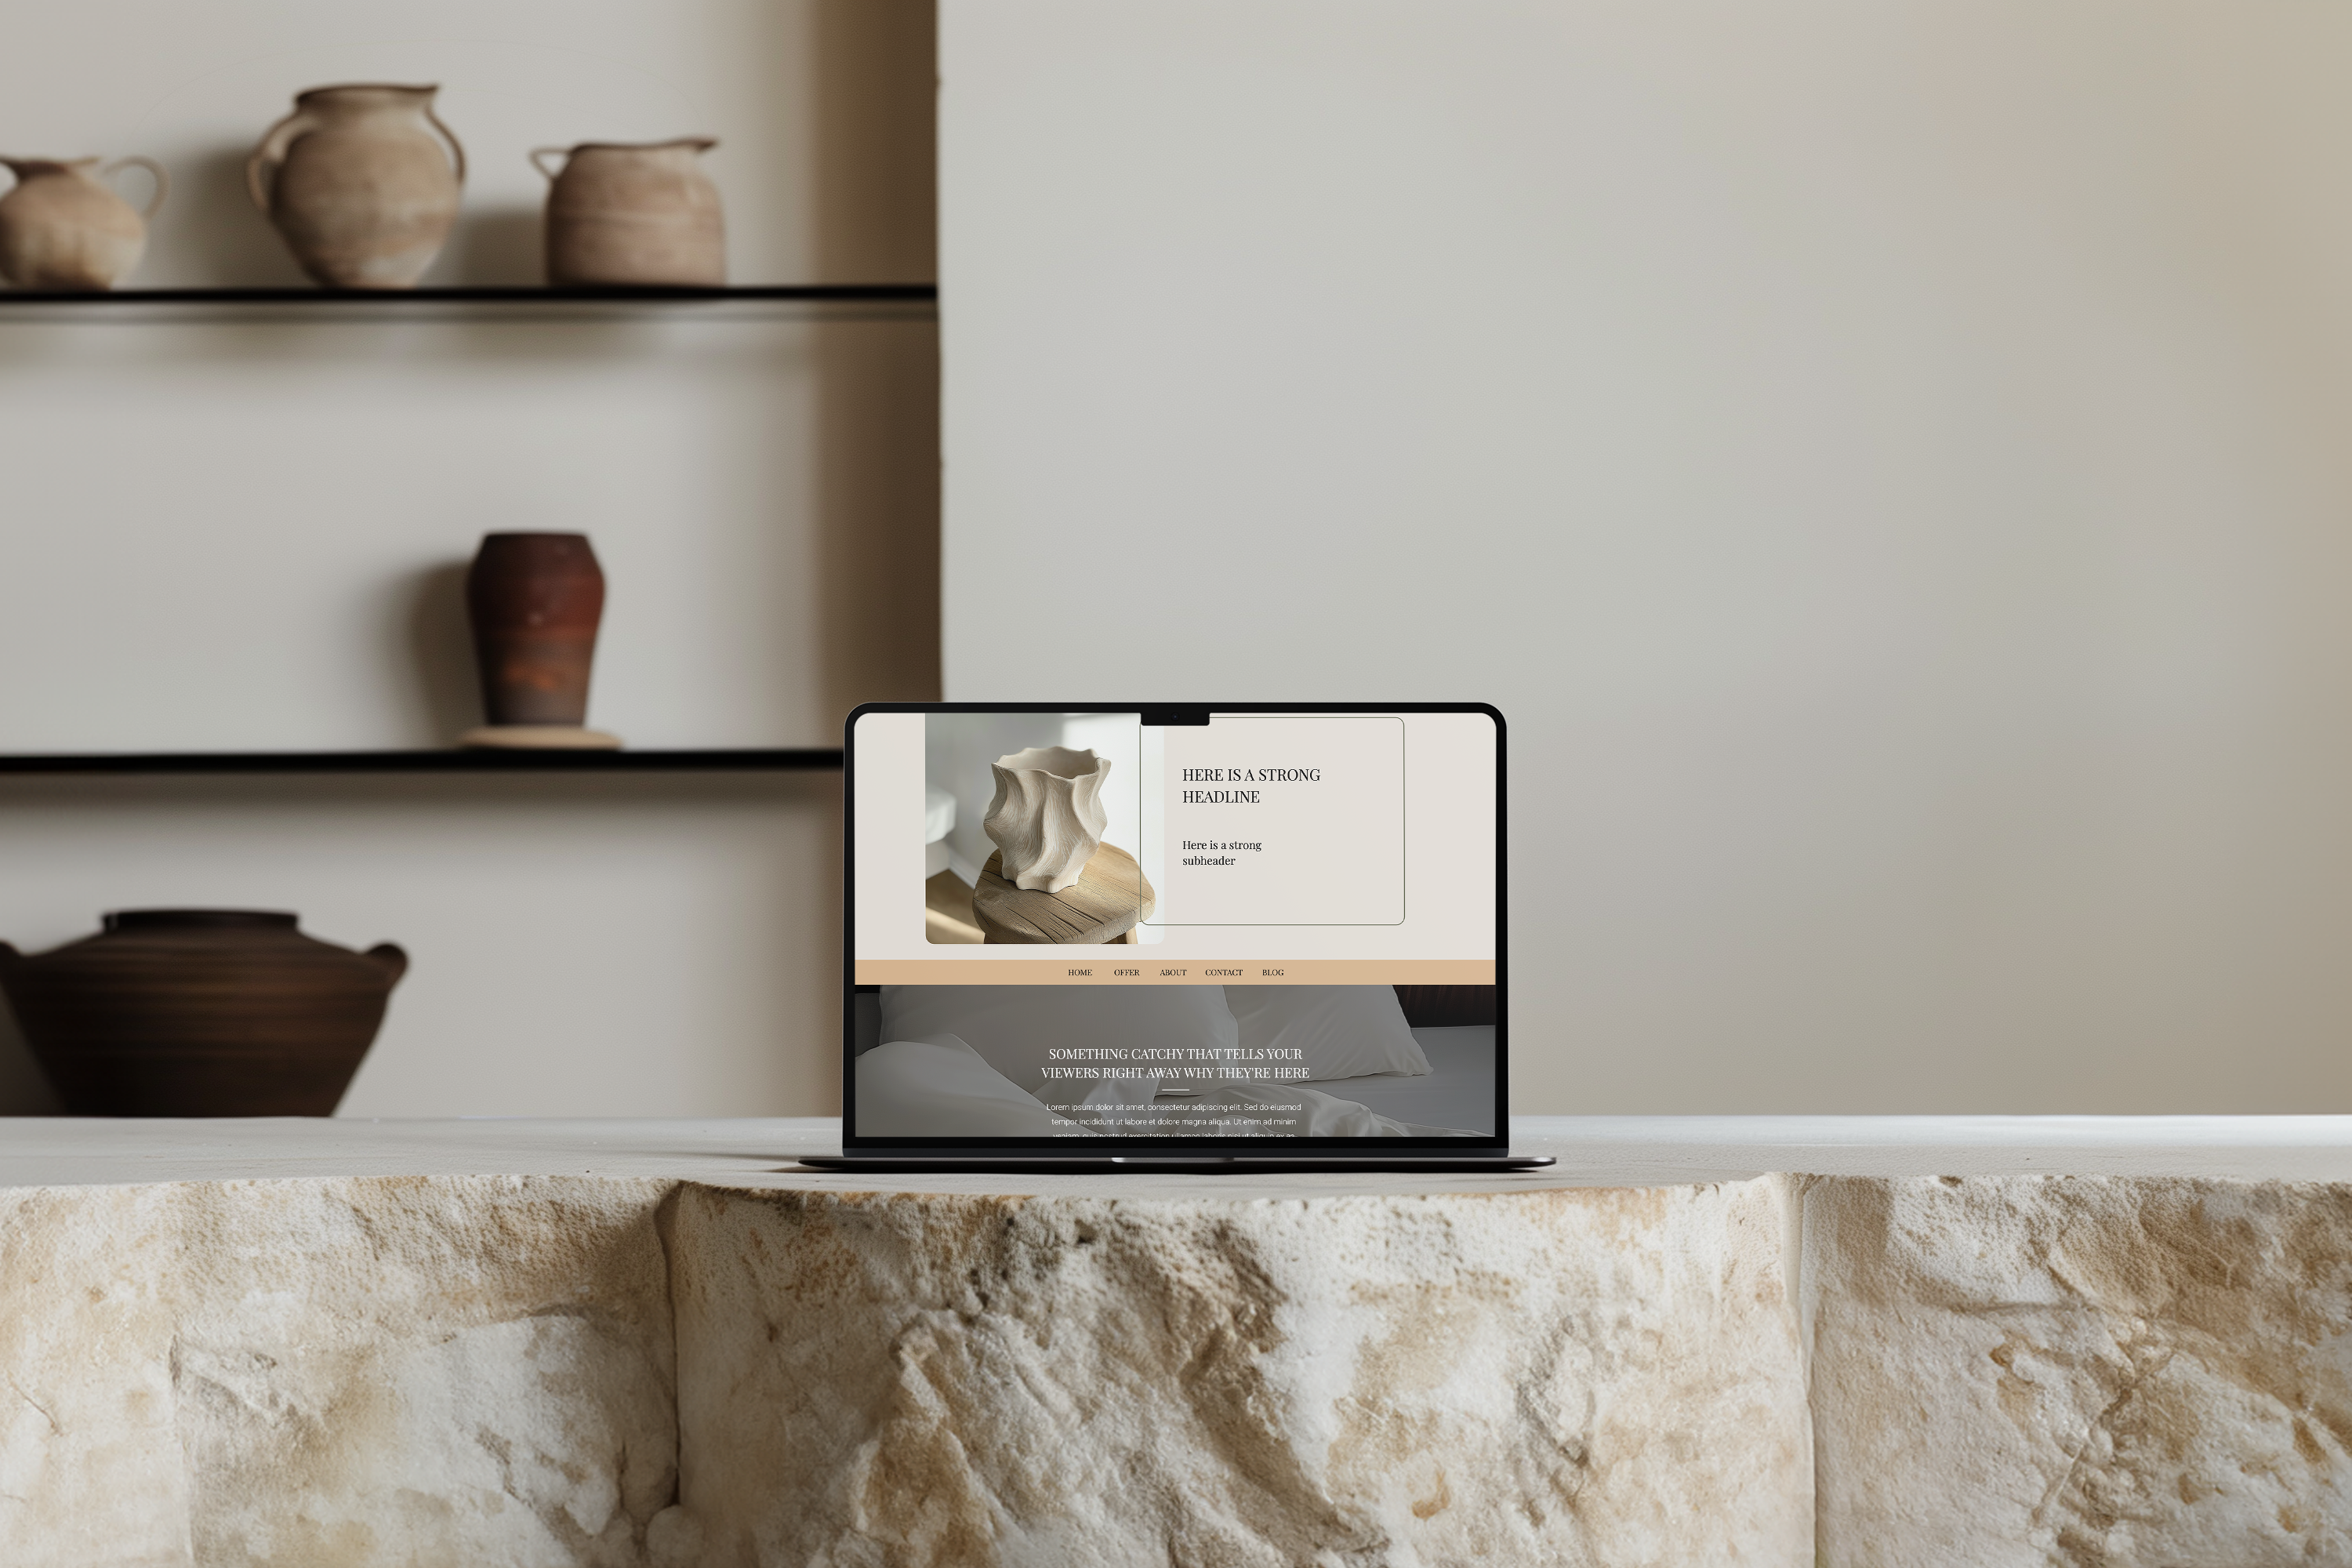
Alt text: Step-by-step visual guide showing how to launch a website using Showit platform
Step 1: Set the Foundation: Define Your Brand & Goals
Before you can launch a website that feels like you, you need to know what you’re building and why. A strong foundation helps you stay focused, save time, and create a site that speaks to your audience.
Start by asking a few simple questions:
- Who do you want to visit your website?
- What do you want them to do when they get there?
- What kind of feeling should your website give?
Your answers will shape everything from your colors to your layout. When you know your goals, every design choice becomes easier.
Next, write down the main purpose of your site. Do you want to book more clients? Share your story? Sell products? Your website should guide people toward that purpose. This is how you build a website that works, not just one that looks good.
Also, take time to define your brand voice and style. What makes you different? What colors or images represent you the best? You don’t need all the answers yet, but having a clear vision helps when it’s time to choose a Showit template.
Many people skip this step, but it’s one of the most important parts of learning how to launch a website. A clear direction now will save you from confusion later.
Ready with your vision? Great! Let’s bring it to life in the next step.
Step 2: Create a Showit Account and Choose a Template
Now that you’ve set your goals, it’s time to begin building. To launch a website with Showit, the first step is creating your account. Head over to showit.co and start with a free trial. It gives you full access to design tools, so you can explore before you commit.
Once you sign up, you’ll enter the Showit dashboard. This is where all the fun begins. You’ll see a library of templates made for photographers, coaches, bloggers, and creatives. These templates are fully customizable, so you can make them look exactly how you want.
Choosing the right template is important. Look for one that matches your layout needs and the feeling you want your site to give. Want something soft and minimal? Or bold and modern? There’s a design for every vibe.
You don’t have to stick to one look either. You can swap colors, fonts, and images later. But picking a layout that feels close to your vision saves time.
If you feel stuck, think back to your goals. What do you want people to do on your site? A clear call to action should already be built into your template.
This part is exciting because it’s the start of turning your ideas into something real. Once you’ve picked your template, you’re one step closer to launching your website
Step 3: Customize the Design to Reflect Your Brand
This is where your website starts to reflect who you are. Customizing your Showit template brings your brand to life, and it’s one of the most important steps when learning how to launch a website that looks original and feels professional.
Start with the basics:
- Choose your brand colors. These should match your logo, business card, or social media style.
- Pick two or three fonts you’ll use across the site. Keep them simple and easy to read.
- Add your logo and name to the header. This is what people will see first.
Next, swap out all placeholder text and images with your own. Even if you’re still working on perfect wording, use real content. This gives you a better view of how your site will look when it goes live.
Showit’s drag-and-drop builder makes it easy to move things around. You can click on any section, change the size, update colors, or add buttons without needing to touch any code.
Make sure every section supports your main goal. If you want people to book a call, make that button clear and easy to find. If you’re sharing your portfolio, highlight your best work first.
This is where the real magic happens. It’s the step that transforms your site from a template into something personal. The more your site reflects your true brand, the more confident you’ll feel when you launch your website.
Once your desktop version looks good, it’s time to make sure your mobile version shines too and Showit makes that part simple.
Step 4: Set Up Blog and Mobile Optimization
Before you launch a website, you need to make sure it works on every device and includes the features your visitors expect. That means setting up your blog and checking that your site looks good on mobile.
Let’s start with the blog. Showit works with WordPress, so you get the best of both worlds beautiful design with powerful blogging tools. If you plan to share updates, write articles, or improve your site’s SEO, having a blog is a smart move.
To connect your blog, Showit will guide you through the setup. It only takes a few steps. Once it’s connected, your blog pages will look just like the rest of your site fully branded and easy to update.
Next, check your mobile design. Many people will visit your site from a phone, so this step is a must. Inside Showit, there’s a mobile view that shows exactly how your site looks on smaller screens.
Make sure the text is readable, buttons are easy to tap, and images aren’t cut off. You can adjust each section for mobile without changing your desktop version. That’s one of Showit’s best features.
A mobile-ready site and a working blog help you build trust from day one. They show visitors you care about their experience and that you’re ready to go live with confidence.
Once these are in place, you’re almost ready to launch your website.
Step 5: Prep for Launch: SEO, Pages, and Domain
You’ve designed your site, added your content, and tested it on mobile. Now it’s time to get serious about going live. To launch a website the right way, you need three things in place: SEO, pages, and a custom domain.
Let’s start with SEO. Inside Showit, you can add page titles, meta descriptions, and image alt text. These little details help people find you on Google. Use clear keywords that match what your visitors are searching for. For example, if you’re a yoga coach in Lucerne, write something like “Yoga Classes in Lucerne | [Your Name]” for your homepage title.
Next, double-check your pages. Most beginner sites should include:
- Home
- About
- Services or Portfolio
- Contact
- Blog (if active)
- Legal pages (Privacy Policy, Terms if needed)
Every page should have a clear goal. If it’s a booking page, include a form or a call-to-action button. If it’s your About page, share your story in a way that connects.
Finally, it’s time to connect your domain. This is your website’s web address, like “yourname.com.” You can buy a domain through platforms like Google Domains or GoDaddy. Once you have it, follow Showit’s step-by-step instructions to connect it to your site.
This is the moment everything comes together. After this step, your site is ready to go live and you’re just one click away from being seen.
Let’s move on to the final steps before you officially launch your website.
Step 6: Test Everything and Hit Publish
You’re almost there. Before you launch a website, take time to test every part of it. This step may seem small, but it makes a big difference.
Start by clicking through every page. Make sure buttons work, links go to the right places, and forms are easy to fill out. Read your text out loud to catch any typos or awkward sentences. Try viewing the site on both a phone and a computer.
If you have friends or clients, ask one or two of them to check the site too. A fresh pair of eyes can catch things you might miss.
Once everything looks good, it’s time to publish. In Showit, just click the “Publish” button in the top right corner. Your site will go live with your connected domain. That’s it, you’re now online.
You’ve gone from a blank screen to a full website, built by you. That’s something to be proud of. And even if everything isn’t perfect, taking action beats standing still. You can always come back and improve.
Now that your site is live, let’s talk about what comes next after you launch your website.
Pro Tip: What to Do After You Launch Your Website
Once you launch a website, your job isn’t over. In fact, it’s just beginning. A website is like an open shop, now you need to let people know it’s there.
Start by sharing your site. Post the link on your social media. Send it to your email list. Let friends and clients know your new website is live. You don’t need to write anything fancy, just a short message with your link is enough.
Next, set up basic tracking. Showit lets you connect Google Analytics and other tools so you can see who’s visiting your site, what they’re clicking, and where they’re coming from. This helps you learn what’s working and what to improve.
Also, plan to update your site every so often. Add a new blog post. Refresh photos. Update your offers. A living website grows with your brand and keeps people coming back.
When you launch a website, you create more than a digital page. You create a space that speaks for you, 24/7. Now that it’s live, it’s time to share it, track it, and make it work for you.
Conclusion: Launching Your Website Isn’t Hard With Showit
Learning how to launch a website might seem overwhelming at first, but with Showit, it becomes a smooth and creative process. You don’t need tech skills or a huge budget, just a clear plan and the right tools.
Now you’ve seen every step, from planning and design to publishing and sharing. You’re no longer guessing, you know how to launch a website with confidence.
If you’ve been waiting to start, now’s the time. Your website is your space online, and the world is ready to see it. So go ahead! Build it, launch it, and own it. You’ve got this.
Need expert help to bring your vision to life? Contact Tulua Studio to get started today.
Want to DIY your Showit website but start with a beautiful website template? Check out my Etsy store for affordable Showit website templates.
Frequently Asked Questions (FAQs)
1. Do I need to know how to code to launch a website with Showit?
No, you don’t need any coding skills. Showit is a drag-and-drop builder, which means you can design your entire site visually without touching a single line of code.
2. How long does it take to launch a website using Showit?
It depends on how prepared you are. If you already have your content and images ready, you can launch your website in just a few days. Some people even do it on the weekend.
3. Can I use my own domain with Showit?
Yes. Once your site is ready, Showit makes it easy to connect a custom domain you’ve purchased from platforms like Google Domains or GoDaddy.
4. What makes Showit better for beginners compared to other platforms?
Showit offers full creative control with an easy interface. It also connects seamlessly with WordPress for blogging, making it ideal for creatives who want both flexibility and simplicity.
5. What should I do after I launch my website?
After launch, start sharing your site on social media and email. Set up tracking tools like Google Analytics and plan to keep your content fresh with regular updates or blog posts.


